In our last article, we looked at the new Export Class Extensions option in Mura CMS 6.2, and explored the basic workflow for creating and using custom Class Extensions and Extended Attributes to extend the default data structure.
Automatic XML
The new export and import features for Mura class extensions use automatically generated .xml documents to store and transfer the definitions for custom classes, or content subtypes, and the associated custom extended attributes. With Mura 6.2, duplicating or editing these custom definitions is easier than ever.
We'll continue our look at one possible application of these features using a simple "customer testimonials" system as an example.
Import Extensions
Once the desired class and attribute definitions have been exported using the "Export Class Extensions" option, importing those definitions into another Mura site requires only a few quick operations in the Site Manager.
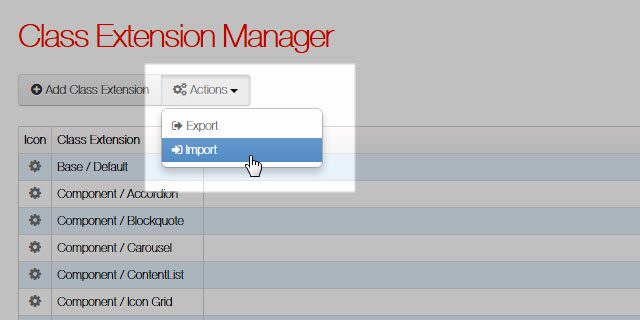
To use the new "Import Class Extensions" feature, select that option from the Site Config navigation menu in the Mura site manager, or browse to the Class Extension Manager and select "Import" from the "Actions" menu.
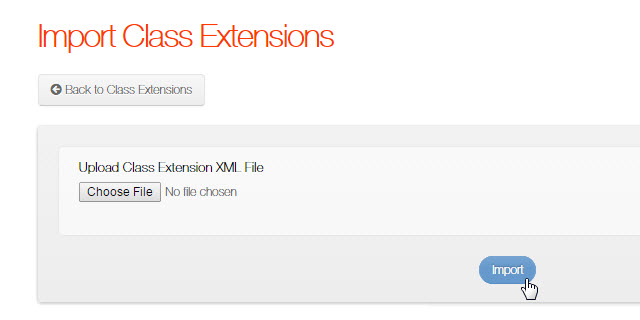
Once the upload process completes, the new class extension and extended attribute definitions are immediately available for selection when creating or editing content. (Also see Mura v6 documentation: Using Class Extensions.)
Assigning and Accessing Custom Values
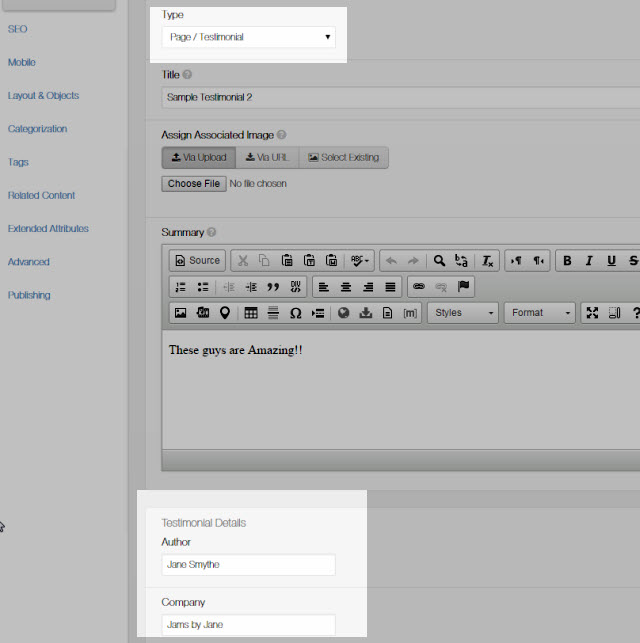
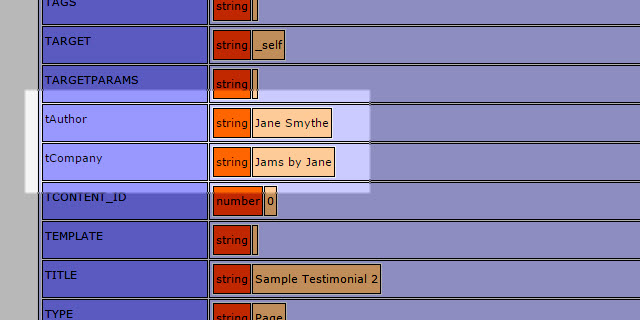
When selecting the specific class extension in the Mura site manager, the associated extended attributes are automatically shown on the specified tab in the Edit Content view.
In this example, we will apply the imported class definitions to new content by creating a folder using the "Folder/Testimonials" subtype, and adding a few child content items using the "Page/Testimonial" subtype.
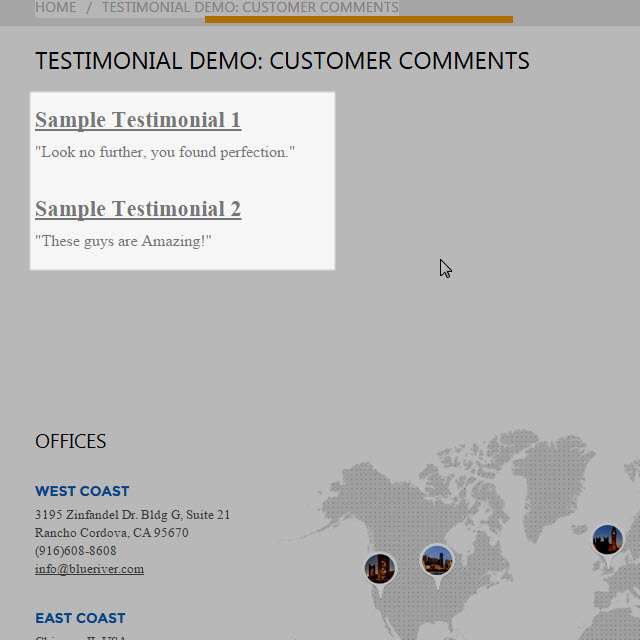
Without a custom display object or template in place, these items are shown using a standard Mura folder layout, with the title, summary and associated image. However, our custom attributes are not immediately available.
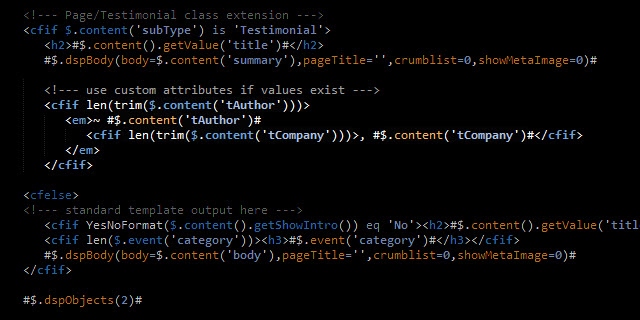
The most common method of displaying the values of extended attributes is via the $.content() object, which contains all attributes applied to a Mura content item. By simply passing in the name of our extended attribute as a single argument to the content() method in standard CFML syntax, Mura will display the value, e.g. #$.content('tcompany')#.
Another option for showing these custom values exists in the form of the "Mura tag". By surrounding a CFML variable with [ m ] and [/m ]*, it is possible to render these content values within the contents of any attribute in the Edit Content interface. For example, within the HTML editor for the page body, [ m ]$.content('tcompany')[ /m ]* will produce the same results as the example above. (Also see Mura v6 documentation: Displaying Extended Attributes.)
*Note: spaces are added inside the [ m ] tag examples - those should be removed when using the mura tag.
For reference or debugging purposes, these values may also be printed to the screen using the "cfdump" CFML tag and the getAllValues() method when applied to a standard Mura content item (e.g., <cfdump var="#$.content().getAllValues()#">). Extended attributes may also be applied to other Mura objects such as a user, user group, or even the site itself. In each instance the method to access the values of the extended attributes are similar.
Unlimited Options
Once the custom class extensions and extended attributes have been applied to your content, and the values populated using the Edit Content interface in the Mura site manager, utilizing and displaying these custom values is simply a matter of coding and design preference.
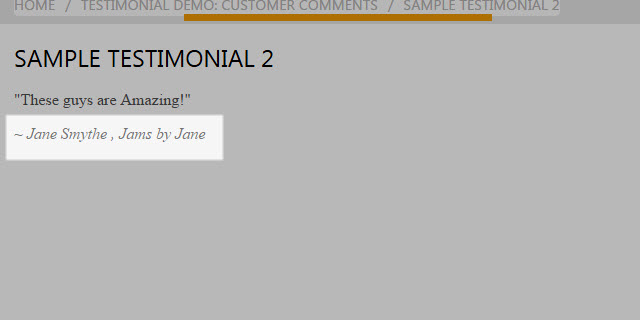
In our previous article, we exported a custom class extension and attribute set from a site using the customer testimonials as content for a slideshow display. In this example, we are using Mura's default page layout with our custom attributes added to the display template.
This example utilizes a single Extended Attribute Set, using two simple text input fields, to demonstrate basic usage of extended attributes and the new import and export options for Class Extensions. By expanding upon these techniques, the possibilities for extending and customizing Mura CMS content objects using these features are virtually limitless. The addition of the new Import and Export Class Extensions automated feature set in Mura 6.2 makes setting up and customizing even very large sets of extended attributes a simple, seamless process.
More About This Feature
Also see Mura CMS v6 Documentation: Using a Class Extension and Import a Class Extension. Further documentation for Mura CMS developers and content managers is available at docs.getmura.com. Learn more about Mura's powerful features and flexible options at getmura.com.
Examples used in this article are based on the Down to Business and Code Blue theme bundles for Mura CMS, available at themeforest.net.